Overview
This guide details the necessary steps to establish SSO for Salesforce using BeanLogin.
The guide assumes that you already have an existing Salesforce subscription.
| Create As Password-Vault App | Create As SAML App | User Provisioning Supported |
| Supported | Supported | Not Supported |
SSO Configuration in BeanLogin
Below are the steps involved in configuration of Salesforce within BeanLogin.
- Login to BeanLogin as an Administrator.
- Navigate to Administration >> Access Management >> Corporate Apps.
- Click New.
- Select Sales Force from the list of apps and click it will give option whether to add as password-vault/SAML based on choice select the proper option and click on Add Selected Apps. It will add apps under corporate section with status as inactive.
- Enter the domain name. Record the “Entity Id” value.
- Select the BeanLogin groups to enable SSO access.
SSO Configuration in Salesforce
Pre-requisites
- SSO for Salesforce is available for in Salesforce Classic and Lightning Experience.
- My Domain must be set up in Salesforce.
- The following user permissions are needed to be able to setup SSO.
- View Setup and Configuration
- Customize Application
- Modify All Data
Enable SSO
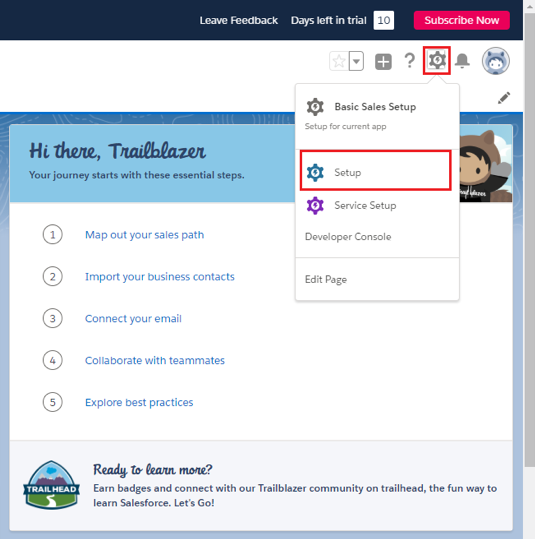
- Click the Settings icon in the top right corner of the page.
- Click Setup.
- Click Settings.
- Click Identity.
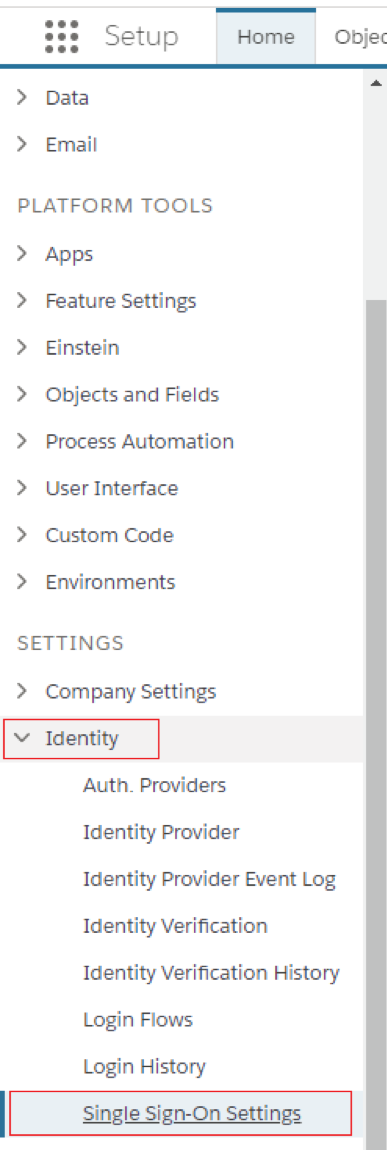
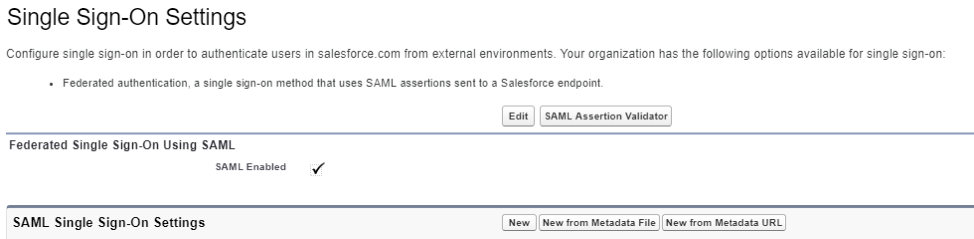
- Click Single Sign-on Settings.
- Click ‘New from Metadata URL’
- Enter https://portal.beanlogin.com/metadata/saml/idp.xml as the metadata URL.
- Click Create.
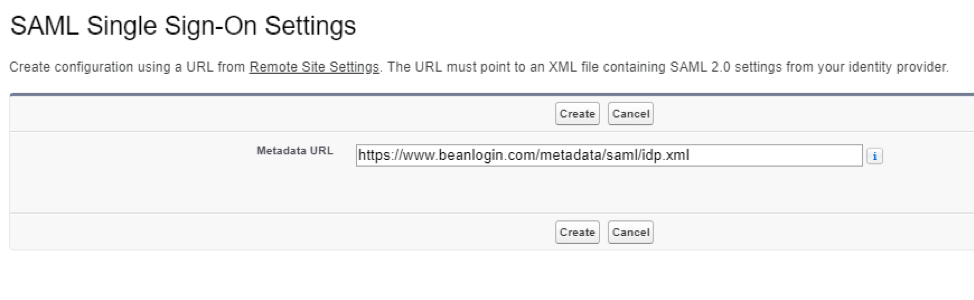
- Salesforce automatically pulls the SSO settings from the metadata url and creates the federation partnership between BeanLogin and Salesforce.
- Once the partnership is created, click the Edit button to review the settings.
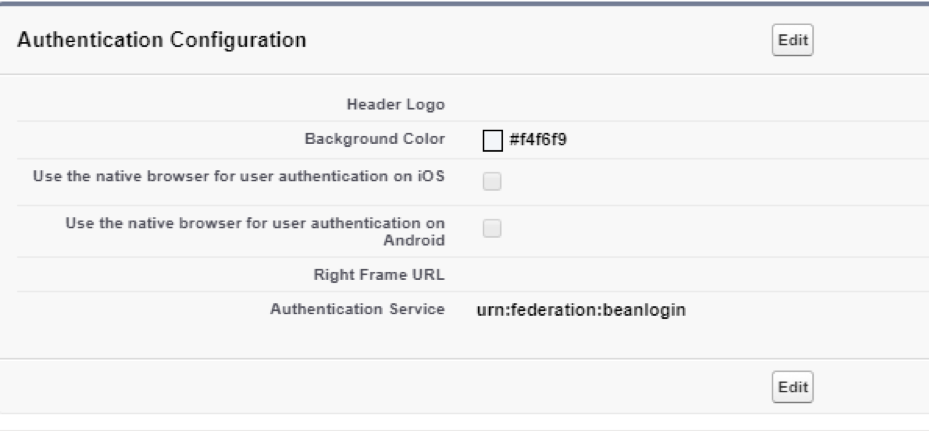
- Edit the following SSO settings
- Issuer: urn:federation:beanlogin:https://[accountname].my.salesforce.com
- EntityID: https://[accountname].my.salesforce.com
- Click Company Settings
- Click My Domain
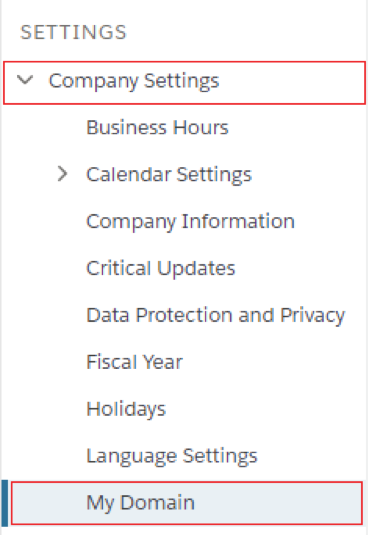
- Ensure authentication service is set to urn:federation:beanlogin